Silhouette Photography: How to Take Pictures of Silhouettes
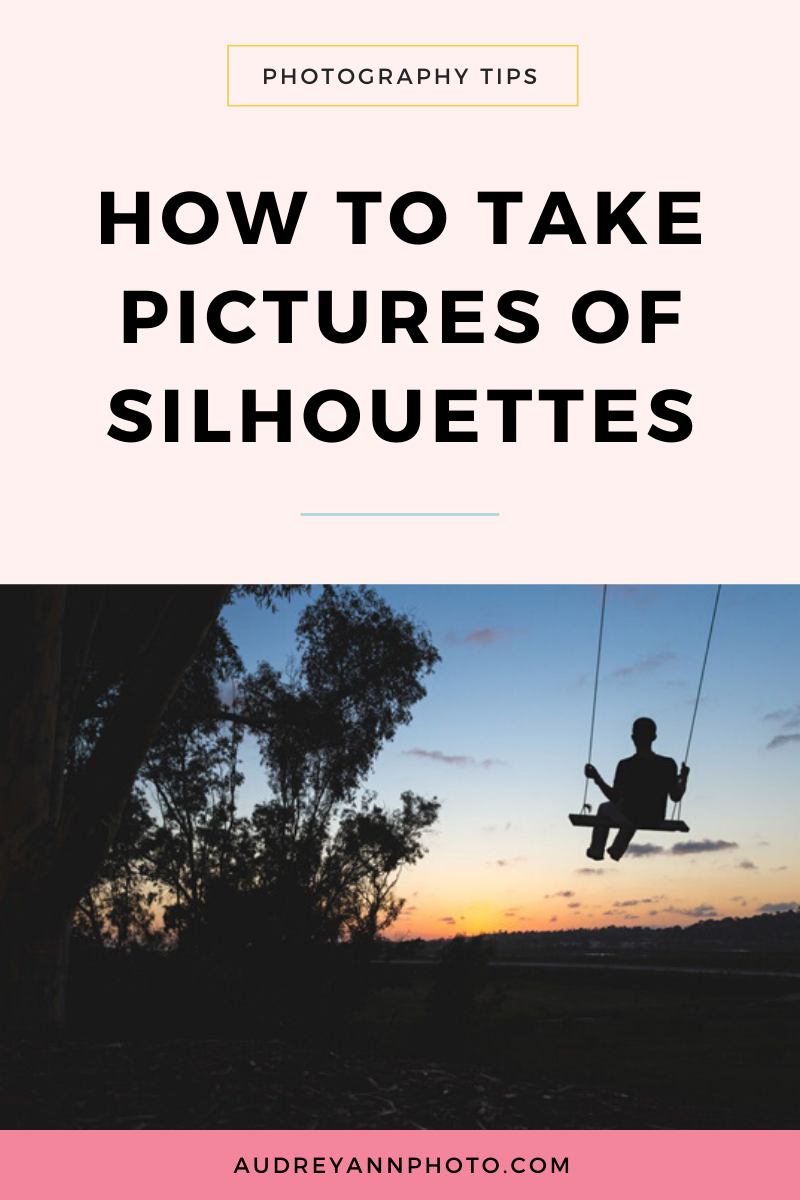
Silhouette Photography - so do you want to learn how to take pictures of silhouettes? Then I have the perfect tutorial for you :)
We're going to talk about how to set up your camera, which camera settings to use, where to place your subject along with some bonus tips and tricks to help you get awesome silhouette photos.
As usual, you’ve got two ways to get this tutorial - click on the image below to watch the video, or scroll down to read a transcript of the video, along with further resources to help you master photography and your camera…

What equipment do I need for silhouette photography?
The first thing I want to say (and this is specifically for you beginners out there who might have an entry level common law camera and kit lens) is that you definitely don't need any kind of special equipment to take silhouette photos, so you can absolutely do this with the camera that you have and the lens that you have!
So if you are working with beginner equipment: an entry-level camera, and maybe the lens that came along with it, then don't worry, you're absolutely still going to be able to take a silhouette photo. It is truly more about technique than equipment!
So let's dive in how to do this, step by step.
Step 1: Make sure you’re shooting into the Light
So the most important element of a silhouette photo is where you place your subject in regard to the light.
Unlike other types of images where we may want to light our subject from the front, with a silhouette, we always want to have the light source behind our subject so that we as a photographer are shooting into the light.
Now if you are shooting outdoors, this is going to be the sky.
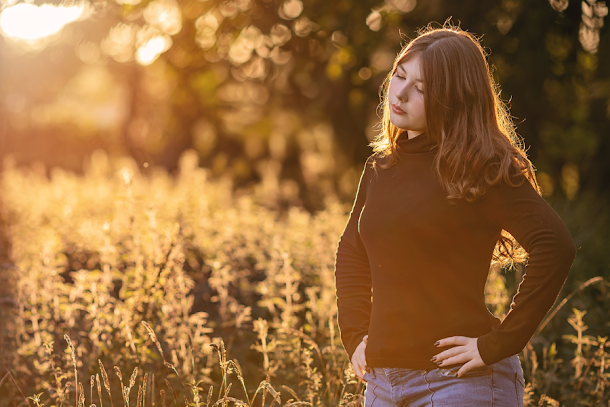
In this example here, this image was taken at sunrise and I'm shooting into the light pretty much where the sun is coming up.

Now if you were shooting indoors, then the same thing applies. Your light source in this situation is going to be the window, in which case you are going to place your subject in front of the window and you as a photographer are going to be shooting into that light source.

Now you can do this with any type of light source - you can do this with the sky, or you could do this with a studio light, with a window, with a car light even, but you're going to find this probably easier to start if you do this outdoors and particularly at sunrise or sunset.
So if you're new to this, I suggest starting outside, try to get as close to sunrise and sunset as possible. Not only will that give you an amazing background sky, you're also going to find it easier to capture your first silhouette and then you can move on to other types of light sources as you get more confident with the process.
Step 2 - Change to Spot Metering
So let's move on to our camera settings now because I actually want to change your metering mode to spot metering if you don't use that already.
So what will happen if you use something like evaluative mode? Well in this case your camera is going to try and balance out this exposures. We don't want that to happen because we definitely want to expose for the background (i.e the light source) and we want our subjects to be really dark and underexposed. We don't want our camera to try and light our subjects!!!
The easiest way to do this is just to tell the camera where we wanted to meter from, and we do this by using spot metering.
You'll see this as a kind of box with a dot inside it. Now the one I'm showing you below is Canon, but they look very similar for all other camera manufacturers and models.

So go and switch your camera to spot metering, which means that we are able to meter for the scene correctly to give us a silhouette. Remember - we always want to meter for the light source or the background.
For our example of shooting outdoors, this means we're going to meter for the sky. (But do bear in mind that if you are trying this indoors with their window as your light source, you're going to meter for the window!).
Pop your metering point over the sky, and then plug in your aperture, shutter speed and ISO settings. Now I do want you to shoot in manual mode for this as you're going to find it a lot easier than shooting an aperture priority mode.
If you aren't confident choosing your settings in manual mode, then I have something for you. Click the image below to grab a FREE manual settings cheat sheet. You’re welcome :)
Step 3 - Choose Your Camera Settings
You are going to be choosing the aperture shutter speed and ISO that is best for the light, but the one setting I'm going to give you a tip on is aperture.
That’s because in the case of a silhouette, we generally want to keep the background in focus, and we don't want to blur that out too much. So I would choose an aperture off around F 5.6 to F 11. That's still going to let quite a nice light amount of light into your camera, but it's also going to give you enough depth of field that you're going to keep your background in focus as well.
Step 4 - Isolate Your Subject
Camera settings dealt with, it’s time to make sure that our silhouette looks good! What’s important to note is that we want to make sure that we isolate our subject.
So what you've got to remember is that you're only going to see what the subject is by its outline, which means we don't want to have things merging into our subject.
If you have a group of people like in this example below, make sure that they are all separate. That way you can see a separate outline of each person. If you had everyone huddled together, you're just going to see one big black blob and that's not going to make a great silhouette!
Similarly, we want to make sure that if there's any other items in the frame, like trees for example, or bushes, that our subject is not merging with them.

We always want to make sure that we have that nice clear outline offer subject so we can see exactly what it is just by the shape of the silhouette.
Bonus Tip for Silhouette Photography!
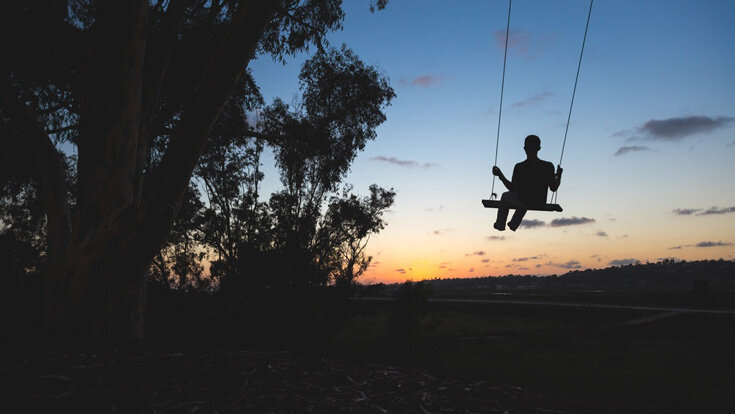
Now a little tip here is to make sure that you get down low. You don't want to be shooting down on your subject cause that's just going to make them merge with the horizon. (Remember we want that clear outline of our subject and we want them isolated)
So if you get down low and keep your horizon in the bottom third off the frame if possible, you'll make sure that you have a nice clear outline to your subject and they're not going to merge into the horizon.
Step 5 - Enhance in Post Processing
Now the next step, and this is optional, is to enhance your silhouette in post-processing. So if you're using something like Lightroom or Photoshop, you can definitely take your silhouette photos up a notch by some simple adjustments!
If you feel that your silhouette is just not dark enough, you've got too much light onto your subject, then you can simply move down the black slider here in Lightroom and that is going to darken in the blacks in your image and give you a more dark silhouette.
Now if you have used the sky, especially at sunrise or sunset (as we recommended back there in the beginning of the video) it's also a great time to be able to play with the colors in your images!
You can do this by simply moving the temperature and tint sliders (you’ll find these under the white balance section) and you can move those around and get a totally different look depending on what you want to do!

You can also go down to the H S L sliders. That stands for hue, saturation and luminance, and you can definitely play with the colors there as well.
There's definitely a lot you can do in post production to really take your silhouette photography up a notch!
Before you go, don't forget to download that free manual mode cheat sheet. You're going to find capturing a silhouette so much easier in manual mode, I promise!. Just go to the link below and grab your (FREE!) copy and I will see you guys next week. Bye for now!