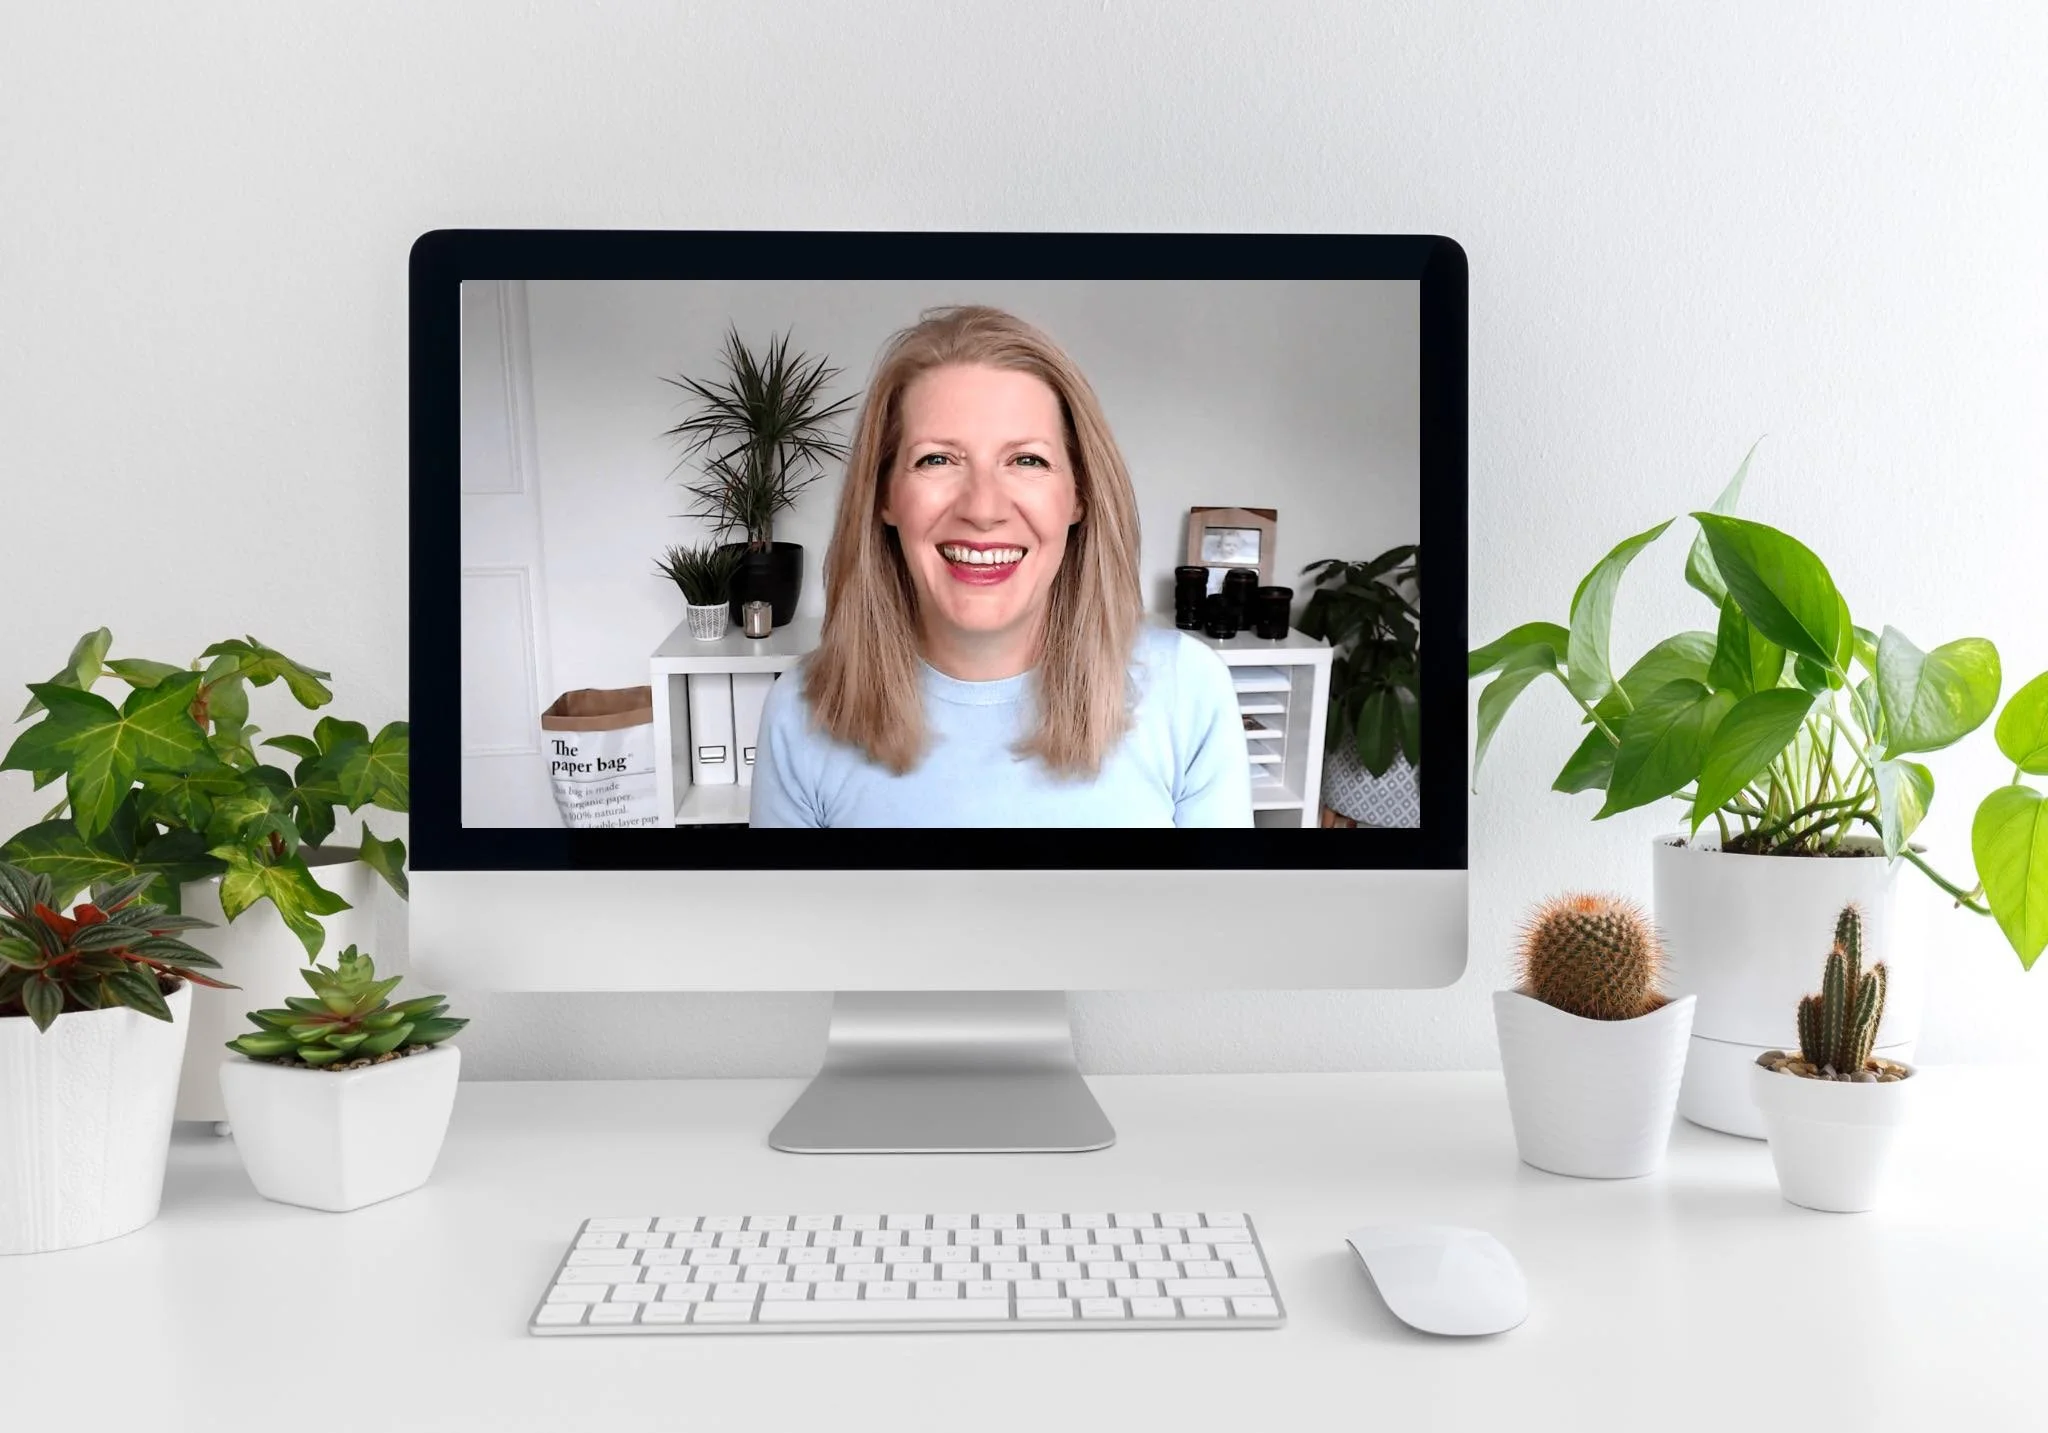
SO PLEASED TO MEET YOU!
I’m Audrey Ann…
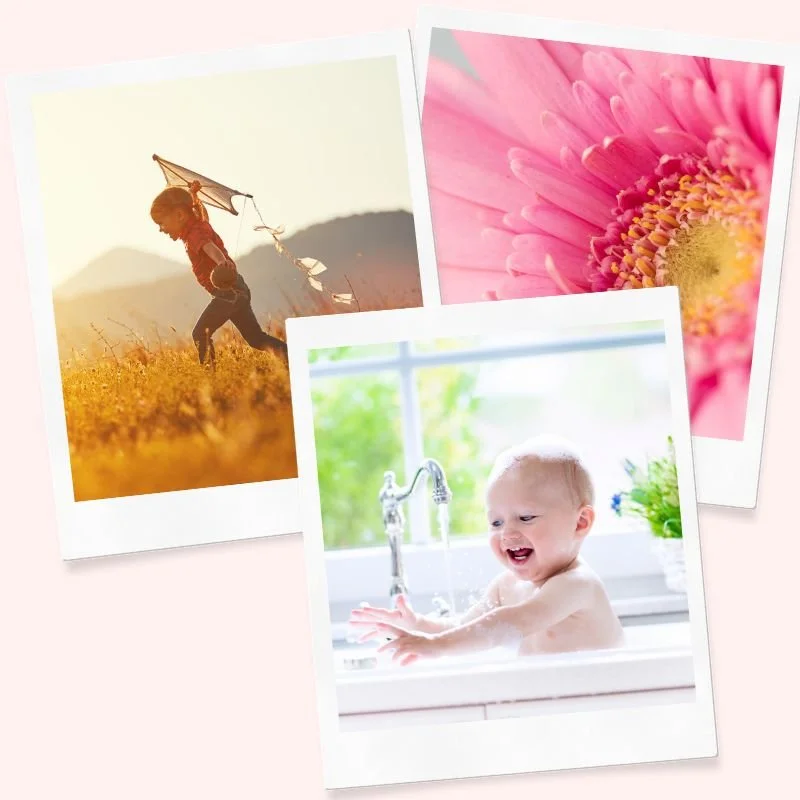
Here at Live Snap Love we have a range of online photography courses for aspiring photographers who want to capture their family, their kids, and the beauty of their everyday life.
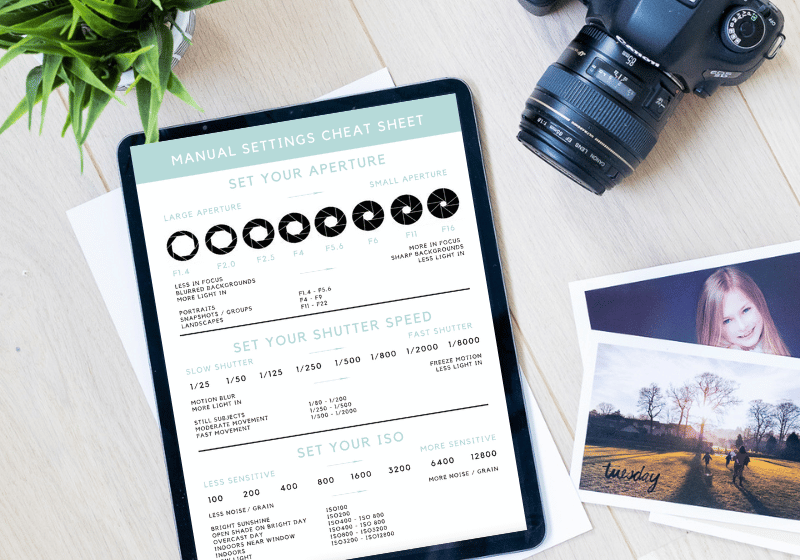
Learning photography definitely doesn't need to boring, confusing or overwhelming! We say no to brain numbing, dry and dusty photography tutorials, and instead, give you fun, easy to follow frameworks will walk you through exactly how to get the most from your DSLR or mirrorless camera - so you can get photos you love, quicker, and with less frustration.
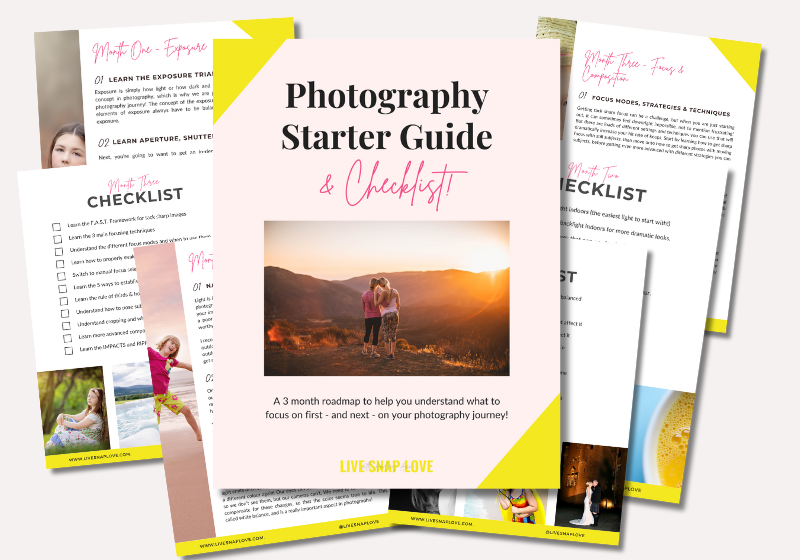
Dive into the blog and soak up our “a-ha inducing”, gorgeously readable photography tutorials, tune into the podcast for our must-know behind the scenes secrets, or get started with our fantastic freebies in our Everything page.
Whatever path you chose you’ll find bucketloads of tips and tricks that will help you get photos that stand out from the rest!