
4 Tips for Keeping Up When Shooting in Manual Mode
One question pops up time and time again when people first consider moving to manual mode, which is:
"How on earth do I keep up with changing my settings when shooting in manual mode, and my kids are running about all over the place?!"
I hear ya!
It is a little bit more tricky to be sure, so in this post I'm going to give you a few tips that will hopefully help make the process of keeping up when shooting in manual mode just that little bit easier.

Prep Your Camera for Shooting Before You Start
The very first - and best - thing you can do is simply be prepared before you even start taking photographs.
For example, if you are shooting outside, you are probably going to use a lower ISO number, and a faster shutter speed, and you will also have a good idea of what aperture you need to use.
So, before you even step foot outside, you can get into this "ballpark" area of settings, so that you can more quickly adjust them when you DO start metering for exposure.
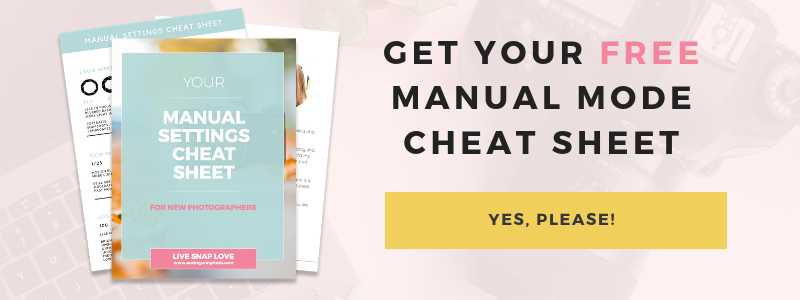
(Not sure which ballpark settings you should be using? Download my free manual settings cheat sheet and find out! Click on the image below to download it!)
Just as a side note, another thing I find really helpful is after I am finished shooting for the day, is to bring my settings back to this "middle ground" range. That way, when I grab my camera the next day, I know what settings I have "plugged in" and therefore how much I'm going to need to adjust. There is nothing worse than going outside and realising you still have your camera set for taking macro images, and you're about to try to capture a moving toddler!
Choose a preferred shooting position.
When you go to the location that you are shooting in, your kids will probably start running about like maniacs, but as this point, I urge you not to follow them!
Your job now is to think about what position you should shoot from to get the best light, and the best background, and perhaps even what type of composition you want to use. (Getting the best light is something we go over in depth in my course, Auto to Awesome, because it is so freakin' important!)
Now if the kids are in one position, say playing in the sandbox, then this is becomes a bit easier. You can simply move around them until you get your best shooting position, and move straight onto getting your settings finalised.
However, if they are running about, then this can be a little bit more tricky. Still set yourself up in your preferred shooting position, and then let them come to you.
If you have a child who loves getting their photo taken, or who is super obedient, then you can simply ask them to move.
For the rest of us, who maybe have younger kids, or if like me you have a slightly older child that will do the complete opposite of what you ask (and then moan about getting their picture taken) then you need to be a bit more creative.
You could set up an activity in the area, throw the ball to them so they have to run into that area, or even devise some form of challenge of running to a spot - whatever will get into the area where you can start snapping away.
My personal secret weapon is my husband - he sees where I have camped out, and will herd my son into that area. It's a bit like herding cats but it works :) It took a few years of training for him to get to this point, but we are as slick as a well oiled machine :)

Make sure you are using spot metering
For getting your final settings right, I recommend that you use spot metering.
Spot metering takes away any guesswork as to how your camera is going to react in certain scenes. This way, you can meter for the area of the scene that is most important, and get your settings right straight away.
Remember, when something like evaluative mode, you may have to "chimp" and adjust more to get the exposure for your subject spot on, because your camera is trying to set exposure for the whole scene, not just your subject. Spot metering allows you to meter once, get your settings right, and move on.
If you don't move, you don't need to change your settings
Finally, it’s also worth bearing in mind that if the light isn’t changing, and your settings are good – you don’t need to change them!! That leaves you free to only think about composition and getting in focus shots.
When you are ready to shoot from a different position, you will need to change your settings, but for now, you can snap away!
Taking a few minutes upfront to get the right settings, and the best light may mean you miss a couple of shots right at the very beginning, but those that you capture AFTER will be so much better!


